An extremely common question in the real estate industry is… How to prepare my house for a photoshoot?
Real estate photography and videography is the fastest-growing form of real estate marketing because it allows buyers to see inside homes before they purchase them. The goal of real estate photo shoots is to get the buyer excited and really connect with the home.
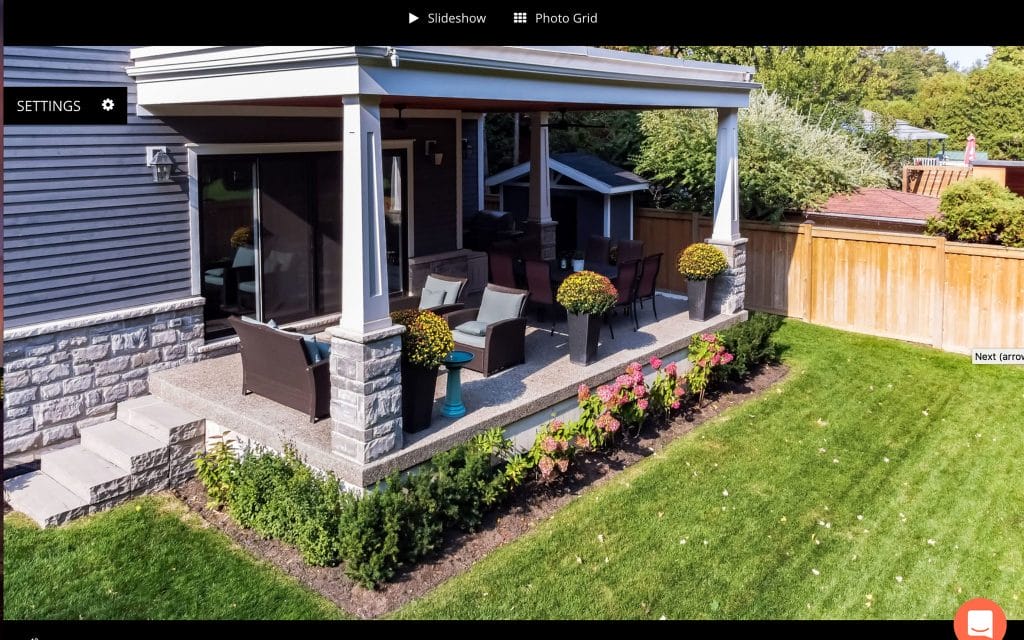
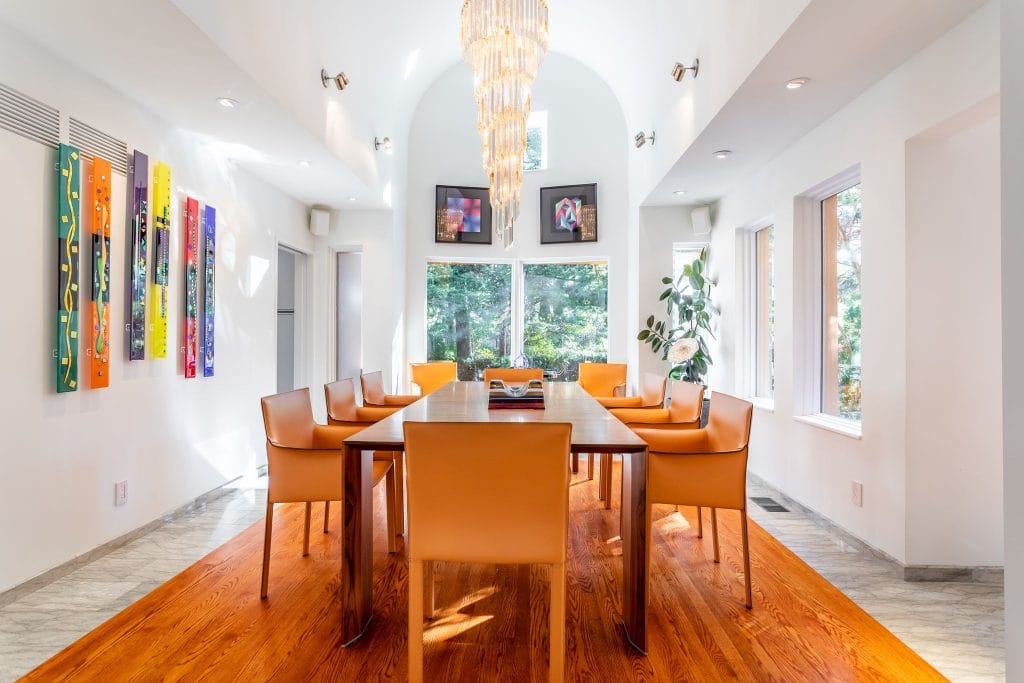
To create the perfect environment for a family or realtor photographer, it’s important to remove unnecessary objects from the space. When done correctly, this gives the room a clean, fresh look. We can also add lighting and props that complement the images. The final step involves staging the rooms, which means putting new props and furniture in ideal aesthetic positions that contrast and stand out from the rest.
As a real estate marketing company of over 7 years, at OTBxAir, we know what it takes to prepare your property for its photography shoot. We’ve compiled a list of the most important steps necessary to beautify your property for its big day!
1) Remove clutter – Clean up before photos are taken so they look better. Be sure to remove items which could distract from your house (Big/flashy attention grabbers that don’t come with the house/property).
2) Clean away the dirt – Mop up, vacuum, wipe down counters and tables and put away your daily use items like cutlery, notes, snacks, etc…
3) Lighten the mood – Lighting plays a huge factor in how your image turns out. Try to use dim lighting when possible; if you have to use bright lights, avoid direct sunlight by using diffusers.
4) Use props – If you have something special lying around the house, put it out where the photographer can see it. If you want to show off a new piece of furniture, make sure it is staged properly.
5) Check the weather report – Weather conditions can affect the look and feel of a photo shoot. Don’t schedule a photo shoot outside when rain is predicted. Rain can cause light leaks under windows and wet areas indoors. Also, if you live in a cold climate, try not to schedule a photo shoot in winter unless you have special equipment designed for cold temperatures, or want the snowy aesthetic.
To make this process easier, we’re providing you with a FREE CHECKLIST PDF of all the steps we recommend you take to prepare your home for a photography shoot!
To best prepare, use the list of the above-mentioned tips and make sure your house looks its best by cleaning up any clutter, dusting off surfaces, and making sure everything is neat and tidy. If possible, remove all personal items such as photos, mementos, and anything else that might distract from what’s inside the room or make potential buyers feel like the house is already someone else, this can often cause feelings of unwanted dislike because your clients can’t picture themselves and family living there while you are.
If you’re looking to prepare your real estate for a professional photo or video shoot, check out our portfolio of previous work and photoshoots! At OTBxAir, we love helping you sell your home faster, that’s why our team of professional photographers is well trained and know how to show off your beautiful property to look like it’s worth well more than the asking price! Book your photoshoot today!